
Use sharp, well-lit photos.
AI Clothes Changer guide
How to Use AI Clothes Changer
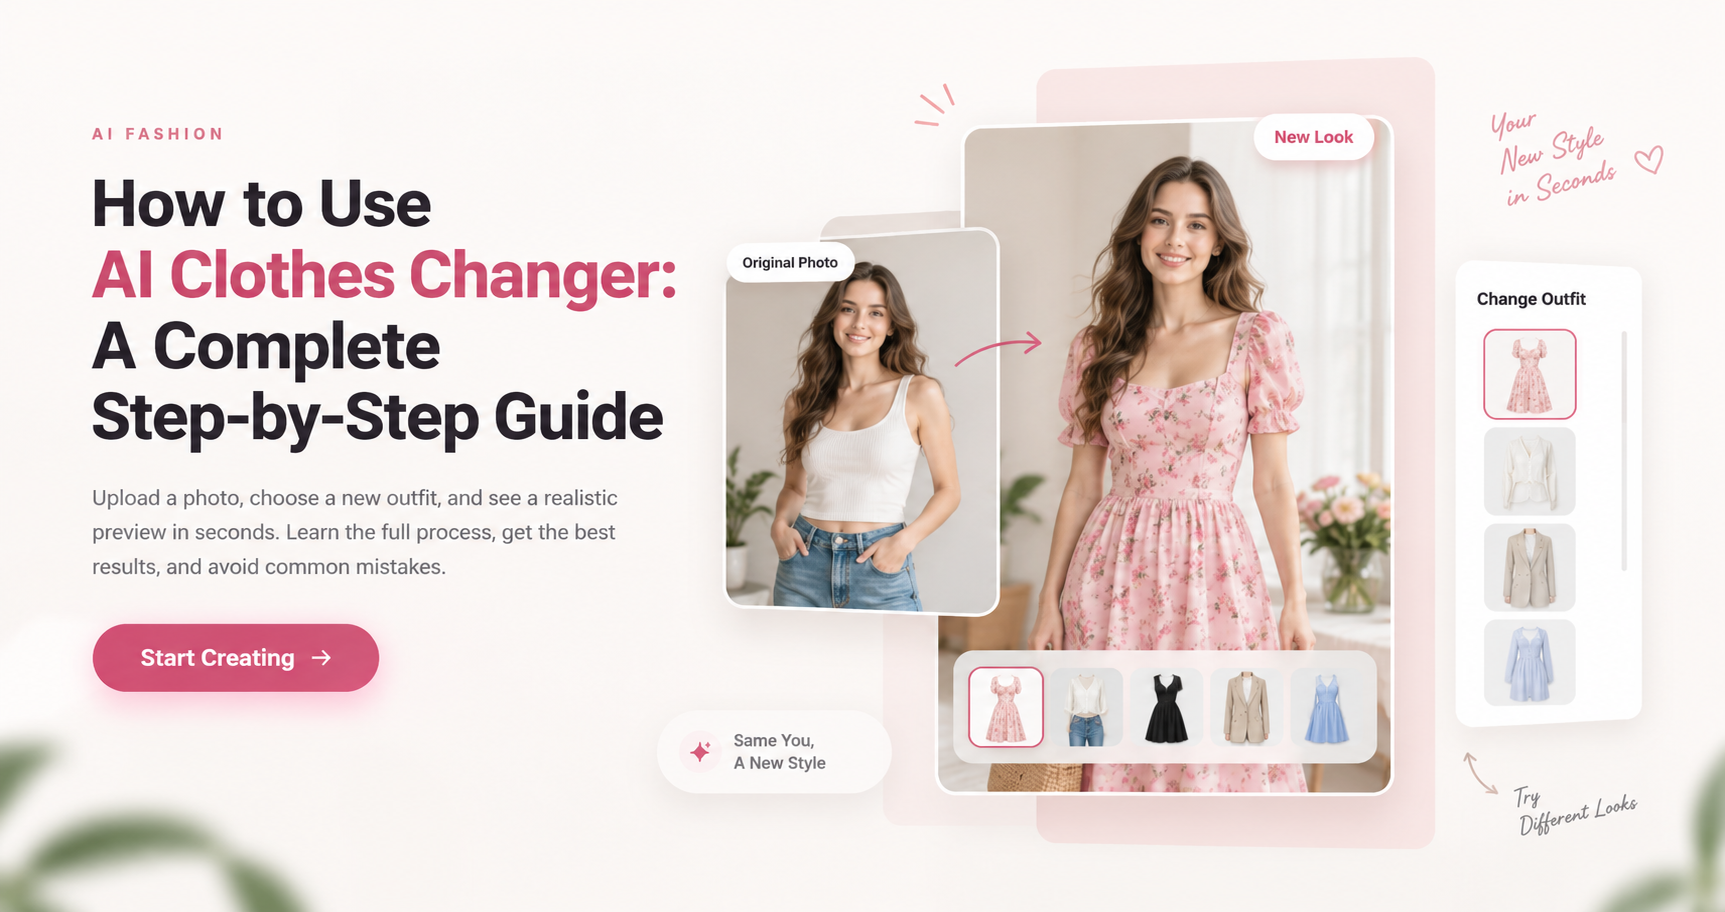
This guide explains how to use AI Outfit Changer: upload a photo, choose a new outfit, and create a realistic preview in minutes while avoiding common mistakes.
The basics
What Is an AI Clothes Changer?
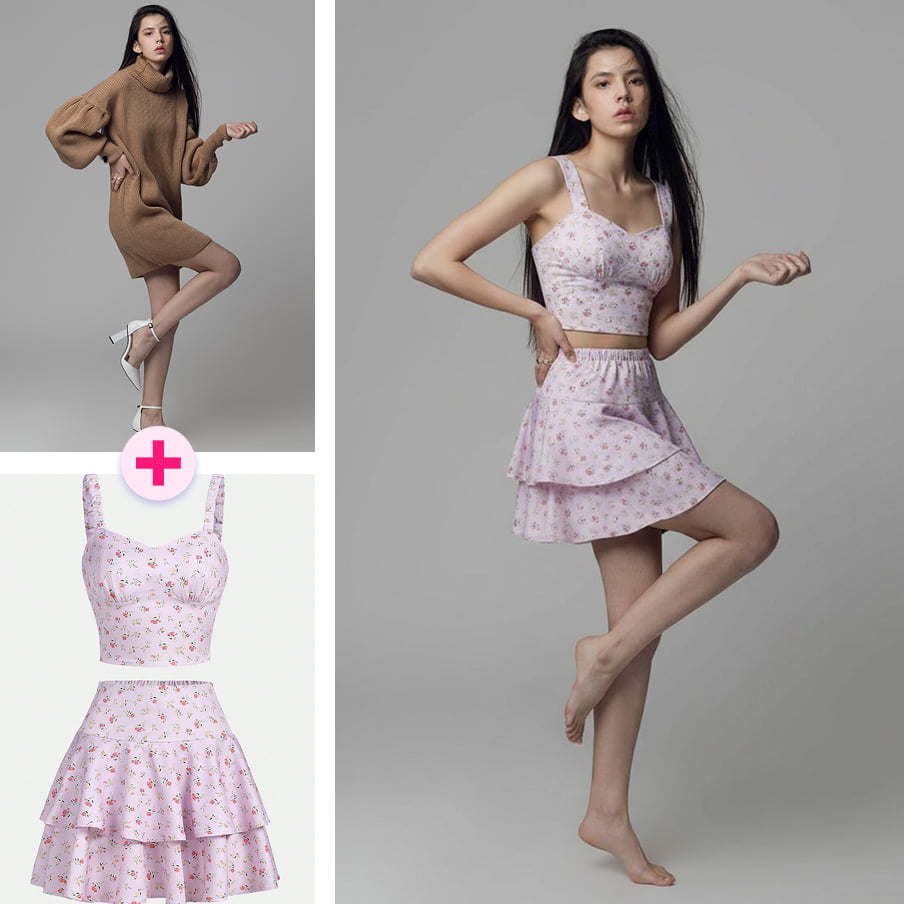
An AI clothes changer, also called an AI outfit changer or virtual try-on tool, swaps the clothing in a photo while keeping the person, pose, face, and background unchanged. Upload a person photo and garment photo, and the AI handles blending, lighting, and fit automatically.
It analyzes body shape and pose, original lighting and shadows, garment color, texture, and structure, plus the background and camera angle. The result is a single new image of the same person in a new outfit, ready to compare, share, or use for planning a purchase.
Real-world use cases
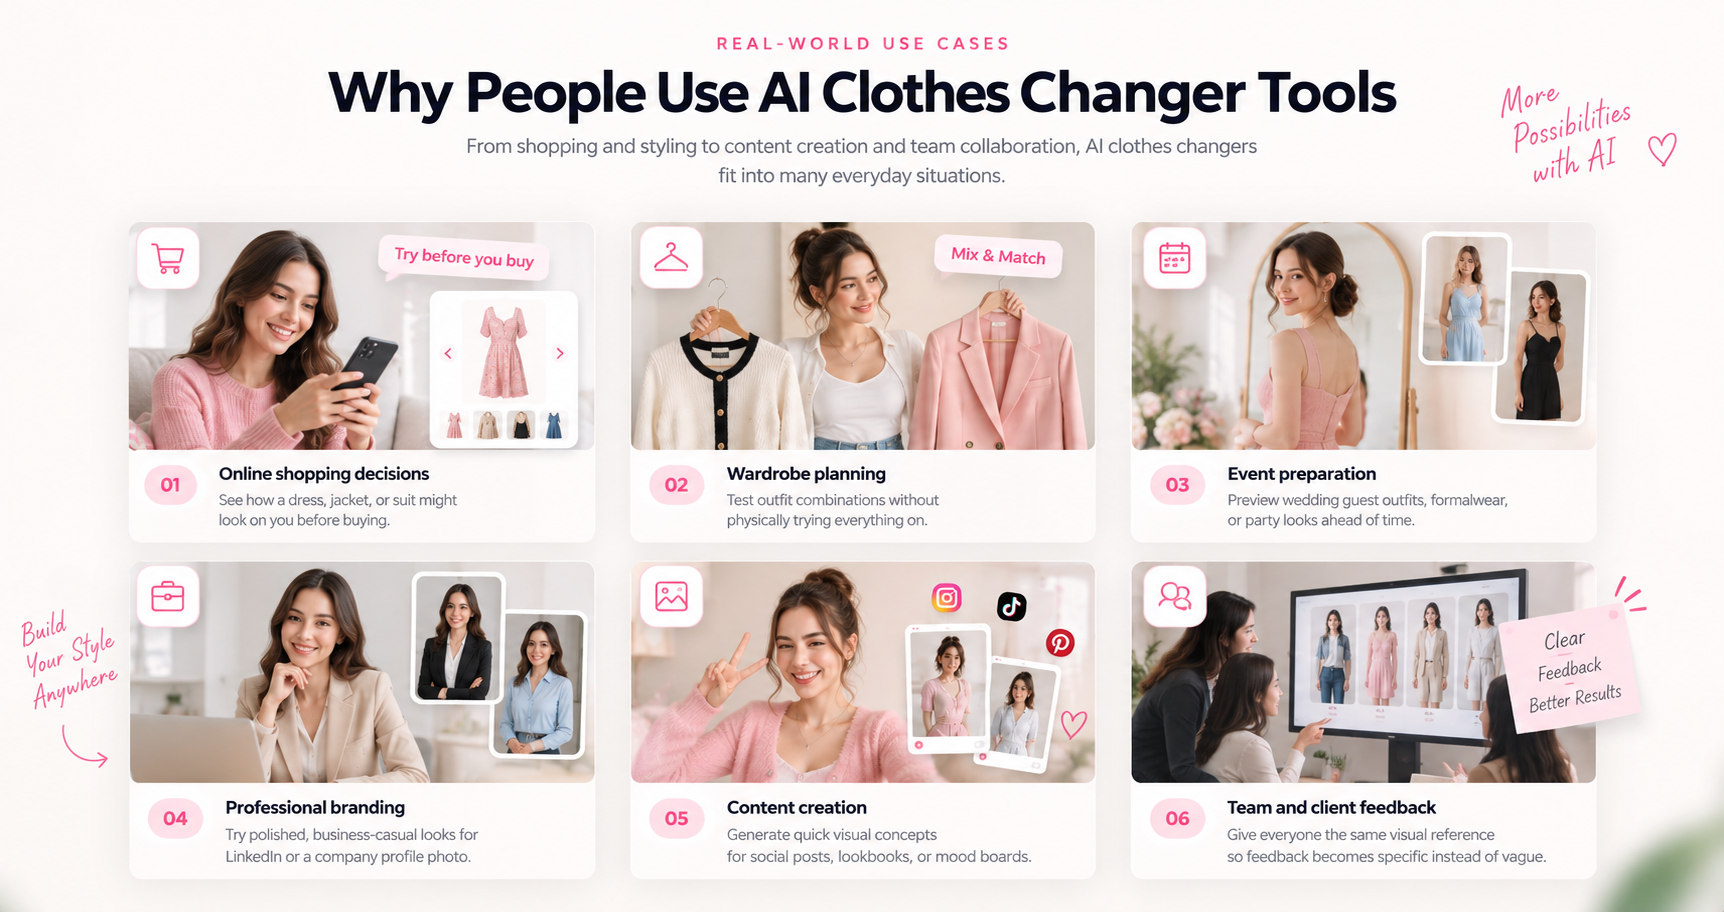
Why People Use AI Clothes Changer Tools
It is useful for online shopping decisions, wardrobe planning, event preparation, professional branding, content creation, and team or client feedback.
Complete workflow
Step-by-Step: How to Use AI Outfit Changer
Use the Person and Clothing upload boxes, optional reference images, generation settings, and styling instructions to create a clear first result. For wording ideas, see the AI Outfit Changer prompt guide, and review credit pricing before increasing output resolution.
- 01
Step 1: Choose a Clear Photo of the Person
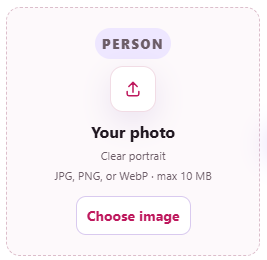
Start with a clear full-body or three-quarter photo. Use natural, even lighting; avoid heavily obscured poses, cluttered backgrounds, motion blur, and low resolution. This photo anchors your face, body proportions, pose, and scene. Add it to the Person upload box (JPG, PNG, or WebP, up to 10 MB).
- 02
Step 2: Upload a Clear Reference of the Clothing
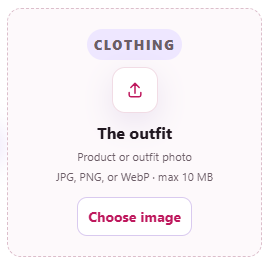
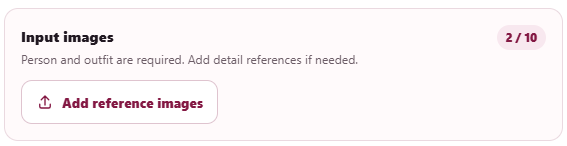
Add a product photo, flat-lay, mannequin shot, photo of someone wearing the item, or a permitted shopping-app screenshot. A clear garment helps capture color, shape, material, buttons, seams, and patterns. Use Add reference images for extra views; AI Clothes Changer supports up to 10 input images.
- 03
Step 3: Adjust Generation Settings
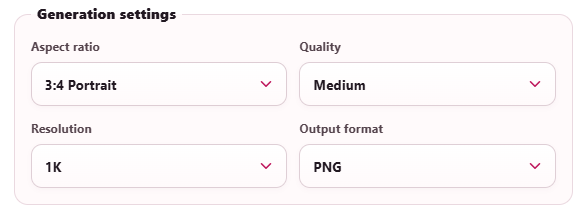
Choose an aspect ratio for your destination, a draft-friendly quality for the first pass, 1K for a quick preview or higher resolution for a final image, plus PNG or JPG output. These settings affect sharpness and credits, so increase them after the direction is right.
- 04
Step 4: Add Optional Styling Instructions
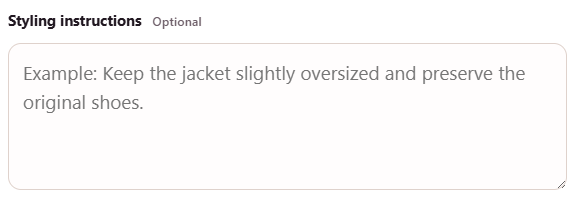
Use a short prompt for details the images do not show: tailored, oversized, or cropped fit; layering; linen, satin, or denim; and what to preserve. Name the garment first, then fit, material, color, context, and unchanged details. Example: Keep the jacket slightly oversized and preserve the original shoes.
- 05
Step 5: Generate the First Result
When images, settings, and optional instructions are ready, select Try for Free or the equivalent Generate action. Treat the first output as a visual draft and keep the tab open while it is prepared.
- 06
Step 6: Review and Refine
Use the Original / On You comparison to check whether the face, pose, and body proportions match; whether color and texture look accurate; whether hands, edges, closures, and accessories are clean; and whether lighting matches. Change one detail at a time, such as fit or sleeve length.
- 07
Step 7: Save, Compare, or Share
Download the final image once you are happy. Compare two or three variations of colors, silhouettes, or accessories before deciding on a purchase, event look, or profile photo.
Practical tips
Tips for More Realistic AI Clothes Changer Results
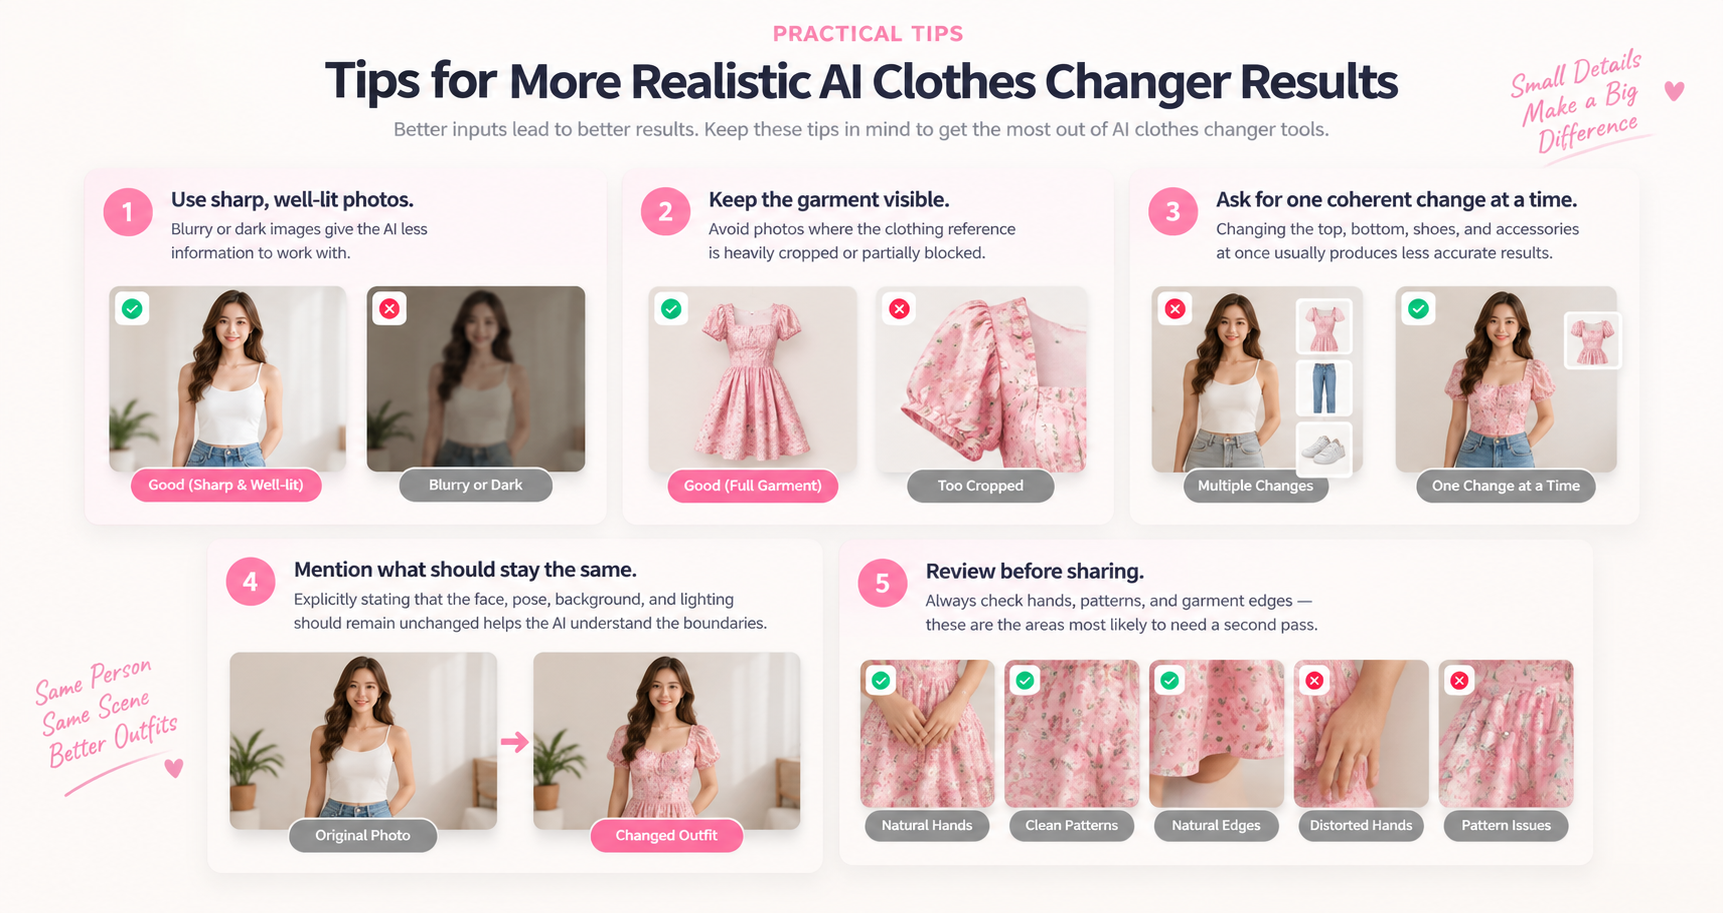
Keep the garment visible and unobstructed.
Ask for one coherent change at a time.
State that the face, pose, background, and lighting stay the same.
Review hands, patterns, and garment edges before sharing.
Avoidable issues
Common Mistakes to Avoid
- Uploading low-quality or heavily filtered photos.
- Skipping the clothing reference image.
- Expecting exact real-world size, fabric weight, or comfort.
- Using images without permission.
- Trying to change everything in one prompt.
Frequently asked questions
Questions about AI clothes changers
Answers about experience, images, realism, focused edits, and trying the tool.
Do I need editing or fashion experience?+
No. Upload two photos, optionally add a short instruction in plain language, and the AI handles the rest.
Can I try on clothes from an online store?+
Yes, when the garment is visible and you have permission to use the image. Results are visual interpretations rather than exact replicas.
Will the outfit look exactly like it would in real life?+
Not exactly. Realism depends on the source photo, reference, and instruction. It is a visual preview, not a fitting tool.
Can I change just one item?+
Yes. Ask for a focused edit and specify what must remain unchanged.
Is it free to try?+
AI Clothes Changer offers welcome credits so new users can test the workflow before purchasing more credits.
Ready to try it?
Start your outfit preview Turn an outfit idea into a visual answer
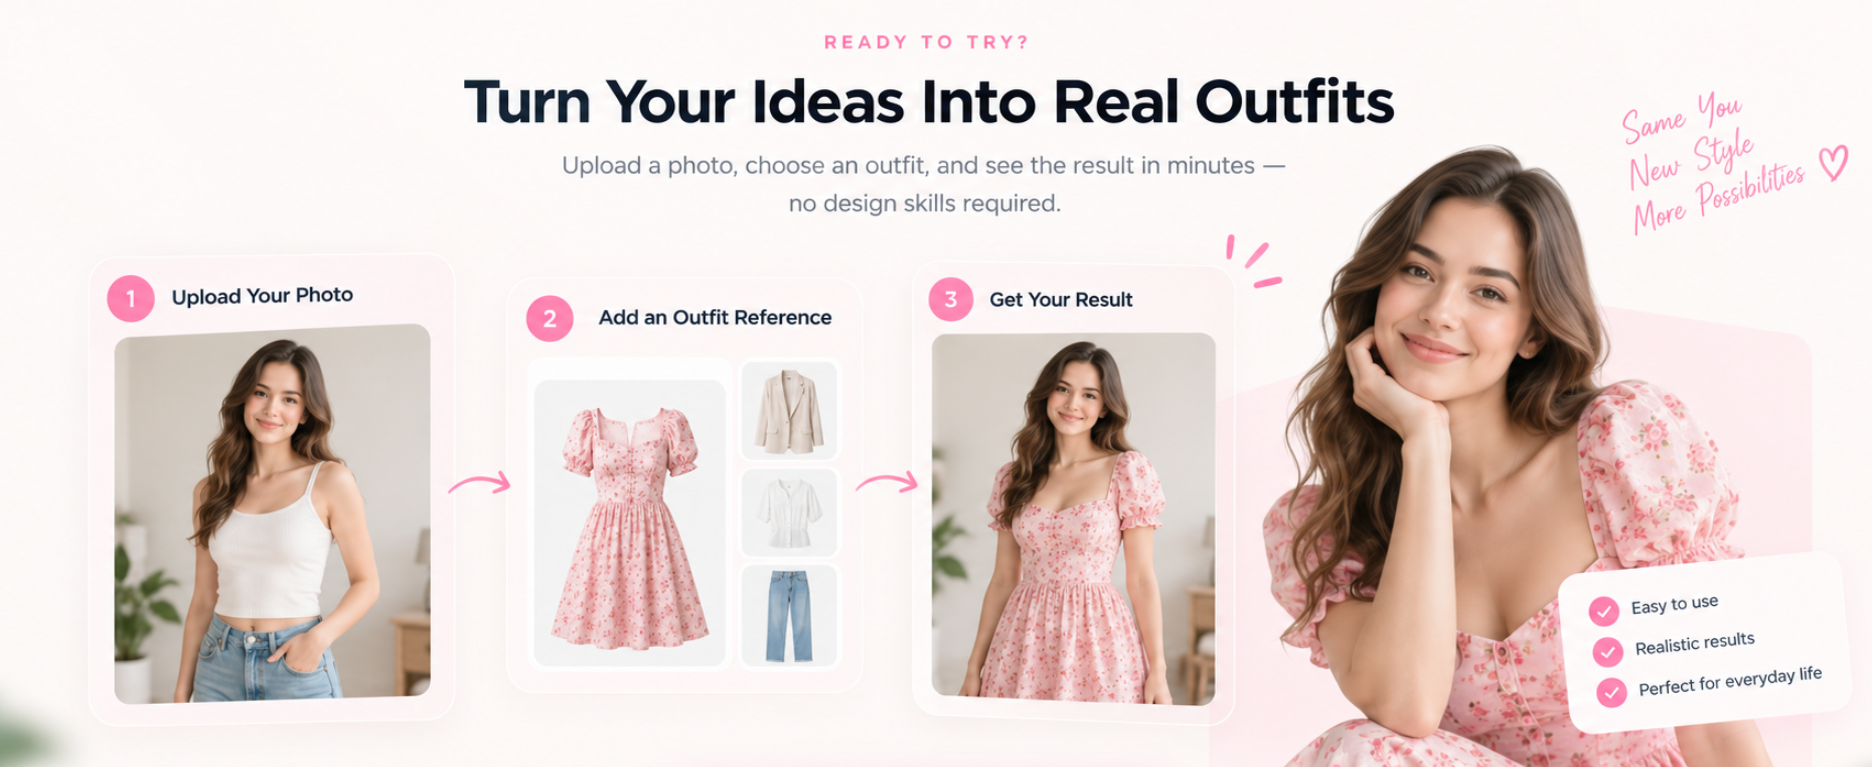
Start with two clear images, review the result, then refine only what needs to change. No design skills required.